1/21

Switch On/Off (Standby)


In the first chapter of the Lumiverse™ manual, you will learn how to switch the LM3X projector on (Standby/Ready) and off. You will also learn how to bypass the embedded Lumiverse™ media player to view a live video signal from an external HDMI or HDBaseT input.

  • Some types of LM3X projectors are equipped with a removable external lens cap. Check the lens and remove the lens cap before use.
  • Connect the projector via the supplied cable or via a compatible connector to a permanent (not intermittent) power source. A compatible connector is supplied with the projector in a small plastic bag, type: Neutrik IP65 PowerCON "NAC3F-TRUE1".
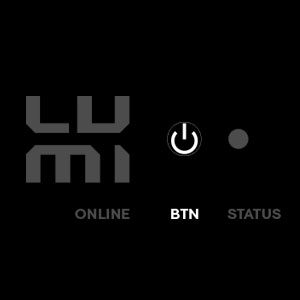
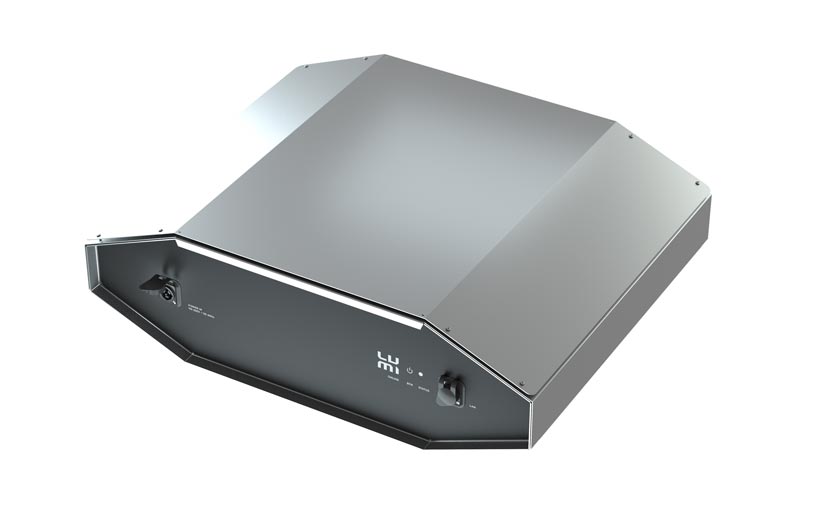
  • The Power Button (marked "BTN") is located on the black panel, next to the square-like "LUMI" logo.
  • Press the "BTN" marked Power Button.

Main Power Button (BTN) on LM3X projector

  • The "STATUS" LED next to the button starts blinking, indicating the device is booting up.
  • Important: Always keep the device connected to permanent power and on (Standby/Ready) when installed outdoors. The device maintains the correct temperature and runs dehumidification cycles to protect its electronic components.
  • In this state, the projection is not running (Sun Shield is closed), but the device's main computer is running. This state is called On/Standby/Ready.

There are two ways to use the LM3X projector: You can either use it with the embedded Lumiverse™ media player, which is controlled via the my.lumiverse.com interface in the browser. This is the recommended way for permanent outdoor installations and projection-mapping projects. An alternative way of use is via a regular video signal delivered via HDMI or HDBaseT connectors.

  • Check whether your projector model features HDMI or HDBaseT input.
  • If so, connect your PC and projector with the signal cable (HDMI or HDBaseT)
  • Switch the device to On/Standby/Ready mode.
  • Check whether the "STATUS" LED is lit in steady white - this indicates the device is ready.
  • Press and hold the physical "BTN" Power Button for 10 seconds. The "STATUS" LED turns blue to confirm. The projector starts projecting, and it displays HDMI/HDBaseT content.
  • Advanced: You can use the supplied IR remote to adjust the internal projector's settings, such as keystone, but remember to revert the changes after use! Reverting the changes to original values is necessary for the correct operation of the Lumiverse™ player.
  • Press the physical "BTN" Power Button to switch the device off. The "STATUS" LED will blink for a few minutes and turn off when the device completes the shutdown process.
  • You can disconnect the device from electricity when the "STATUS" LED turns off.

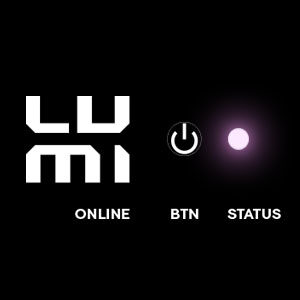
ONLINE & STATUS LED indicators on LM3X projector

"ONLINE" (LUMI) LED

  • off: device offline (no Internet)
  • shines: device online and connected to the Lumiverse™ server

"STATUS" LED

  • not shining - device off
  • white shining - device is on and ready
  • white pulsing - wait, your device is booting, shutting down, or loading. Wait, do not unplug from electricity!
  • green shining - the media is currently playing
  • green pulsing - waiting for the projector lamp to heat up / cool down.
  • yellow pulsing - temperature too warm or ventilation blocked. Wait for the cooldown
  • red shining - check cables
  • red pulsing - factory reset is in progress, do not unplug the device from power