
Masking is the most essential tool for projection mapping. You can add pictures or videos from your MY folder to the media object’s filter stack; they will work as a mask and modify the underlying video content. You can use such masks for example to remove some areas from the projection (use black and white or black and transparent) or to create gradients or effects on top of the main video.
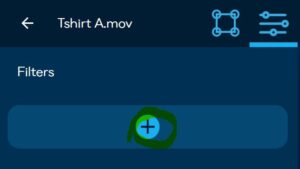
To add a mask to your media frame, select the media frame, select edit, navigate to the filter stack in the top bar, and select + to add a new filter:
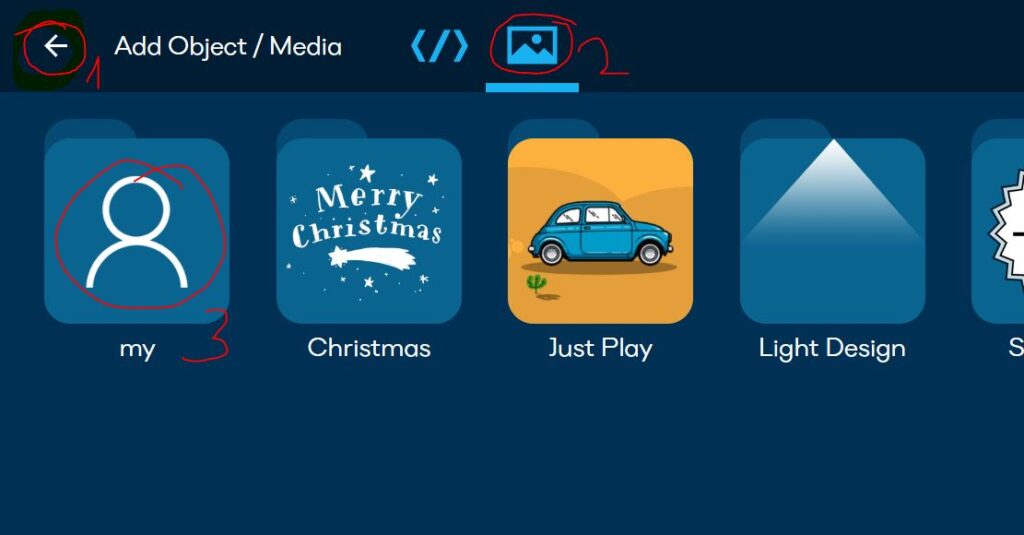
Now click the back arrow to navigate up in the folder structure, locate the MY folder, and select a file to be added to the filter stack:
There are also other ways of masking available in Lumiverse; you can create masks in real time, there is a Vector Mask or Paint Mask tool available.
How to use the Vector Mask Tool:
Switch Lumiverse to ON state, navigate to Lumiverse UI/Editor. Hit (+)
![]()
Add Object, navigate to Apps </>, open the Tools folder and add Solid app into the Project.
![]()
Drag corners of the Solid object and stretch it to fully cover the illuminated object. Select the Solid object (blue S) and hit Edit Object.
![]()
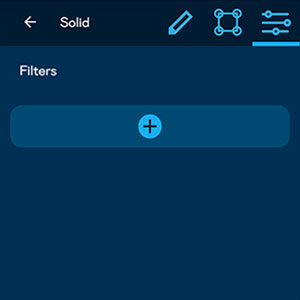
In the top bar, navigate to the Filters Tab. Click (+) Add New Filter and apply Vector Mask.
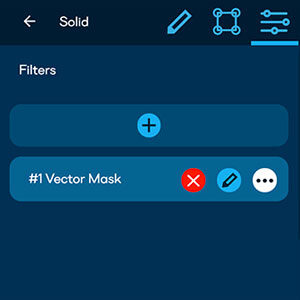
Now, you see the Vector Mask object in the stack. Click the Three Dots button and hit Edit Filter. This is where you can control the Mask Tool.
Mask Tool Edit Filter
There is the Scan – Media Slider. Use this slider to adjust the visual output. If you want to mask a certain object visible in the Scanner Output, slide to Scan, if you want to mask a certain part of the visual itself slide this to Media. Use the blue control points to adjust the mask, Add New masking points or Convert corners to Bezier Curves.

Note: The Mask position is relative to Object Transformations. If your mask doesn’t appear well in the projection, this may be due to Object Transformations. To fix this, hit Vector Mask – Three Points – Edit and navigate to Transform (XY) Tab.
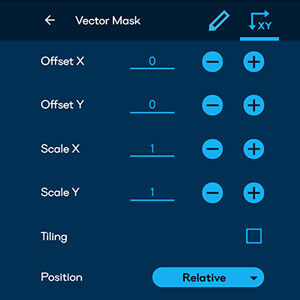
At the very bottom of this dialogue, change Position: Relative to Position: Absolute. Now, the Mask Filter will ignore Object Transformations and sit well on the geometry.
Note: You can stack multiple Mask Filters on top of each other. You can also use Paint Mask, which enables paint-like masking.