
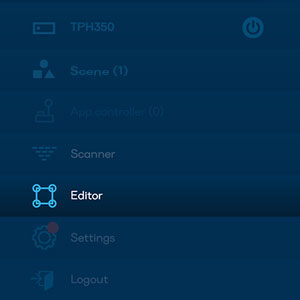
Note: Editor affects the geometry of the currently active Project. Make sure you select the right Project or create a New Project before you enter the Editor.
How to use the Editor:
Switch Lumiverse to ON state. Navigate to Lumiverse UI/Editor. Here’s where most of the design work is done. Hit (+)
![]()
Add Object in the bottom right corner of the screen and add some media from the Library. An object with square corners will appear in the middle of your editor. Also, the projector is now projecting the media. You can drag corners of the object (blue squares) to resize (scale) the item.
![]()
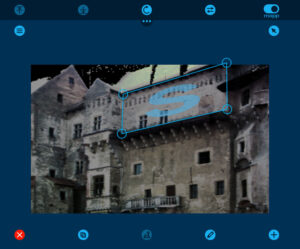
Open the Top Bar Menu and switch the top right controller from Scale to Mapp state.
![]()
The corners of the media frame change from blue squares to blue circles. Now, you can drag these corner circles to control the perspective deformation of the object. When you have an object selected, most of the functions are hidden under the Edit Menu. Press Edit Object Button and a new submenu will appear.
![]()
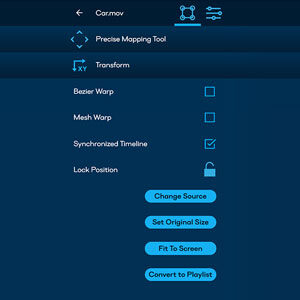
In the top bar navigate to the Editor Symbol Tab. The most useful function is the Change Source fx. You can simply change the media in the frame.

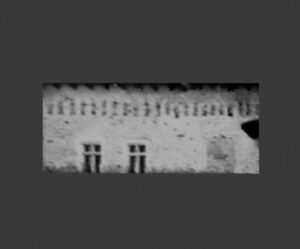
You can use the Multicanvas Filter to cut out the part of the scan and straighten its perspective deformation or to make the scan output more animation-friendly. This makes designing content on such straigtened areas easier. You may have a look at the visual example below. On the left, you may see the fullscreen scan of the projector and placement of the media object, and on the right side, you may see the scan cut-out function applied to that object, which provides an excellent project background without perspective deformation. You may use this result as a pixel map for your animation project.
Step by step in Lumiverse:
Ensure the Projection is switched on in the main Power Menu (this function requires the projector to be actually projecting). Select an Object, select Edit, and in the top navigation bar, select the Filters tab and add the Multicanvas filter. Click on three dots in the Multicanvas bar in the filter stack, and select Edit.
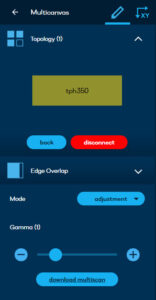
In Multicanvas settings, create a New topology, type its name, scroll down, and click the Create Multiscan. In a little while, the Create Multiscan button will turn to the Download button. (If it freezes on Processing…, you must first switch the Projection to on in the main power menu and then return to Multicanvas filter). Click on Download and receive your pixel map file. Switch Projection back to off in the main power menu.