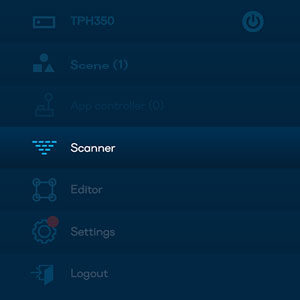
You may use the scanner for surveillance (to look at the projection via the embedded camera), or, you may use the scanner to scan the geometry of the illuminated object. Both functions are explained below.
To simply look at the illuminated area, navigate to Scanner/Scanner and you will see the current camera view. If you can’t see anything good ( blank white/blank black ) and no picture, try changing the Camera Profile and click Refresh to reload the camera photo. Like this, you can oversee the installation, or perform complex calibration tasks and have visual feedback from the site.
The main function of the Scanner is to scan the geometry of the illuminated object. This process takes about 10 minutes. During the scanning process, the projector projects structured light (a set of white and black stripes) and creates what is called a pixel map of the projection. The pixel map is a visual reference that enables positioning content correctly on the 3D geometry of the building.
The object scanner works only at night (in darkness) and it is calibrated for outdoor use and scanning large objects such as cars or buildings. You should run the scan with a well-positioned and well-fixed projector. When you move the projector, the scan result becomes invalid and the process has to be repeated with the new projector position.
How to scan the object?
Scan objects in the night in the darkest conditions available. Switch-off/dim surrounding lights if possible.
Make sure the image is well-positioned and well-focused. Switch Lumiverse to ON state.
Navigate Lumiverse UI to Scanner/Scanner. Select Camera Profile based on the approximate distance to object: NEAR <10m< MID <15m< FAR. If your scan result looks empty (black, white, grain, no image), you may have to re-scan the object again with a different Camera Profile. Scroll down to the bottom of the page and press Scan Now.
![]()
The scanner process takes about 10 minutes to proceed. Make sure the illuminated area is as dark as possible and avoid movement in the illuminated area while scanning.
Once the scan finishes, navigate to Scanner/Results and browse the scan results. Select the best-looking image and press Send to Editor.

Navigate to Lumiverse UI/Editor. You should see the latest Scan Result in the Background of the editor.
Recommended Settings:
Navigate to Settings/Editor Settings and make sure that Object Transparency is checked. With Object Transparency On, the objects in Editor will become semi-transparent and it might be easier for you to see the scan geometry well.
